Switches | Outlets & Plugs | Ballasts | Replace Ballasts | LED Tube Lights | Troubleshooting | Basic Electricity | Misc Articles
About Privacy Policy Sitemap Copyright © 2024 Electrical101.com Terms of Use
Loose and Sunken Outlets
Sometimes an electrical device (switch or outlet) is either loose or sunken into the wall. During construction, cutouts are made in the wall for these devices. When the wall is installed, these cutouts should allow for the tabs of a device to rest against the front of the wall after the device is installed. This will ensure the proper device depth and that the front of the cover aligns with the front of the device. Sometimes the wall cutout is too large and one or both of the tabs on the device do not rest properly against the wall. This will cause the device to rest against the electrical box or float.
When a device is resting on the electrical box, the device appears sunken behind the device cover. This is most noticeable with outlets.
When a device is floating (loose), it is usually only supported by the cover. When an outlet is loose, it will move in and out when plugging or unplugging a load. A floating outlet can cause the cover to crack.
Outlet Spacers (Shims)
When device tabs do not rest against the wall properly, electrical spacers should be added. There are 3 basic types of outlet spacers.
-
-
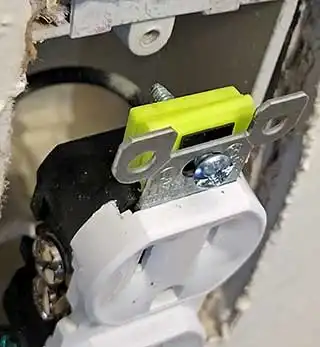
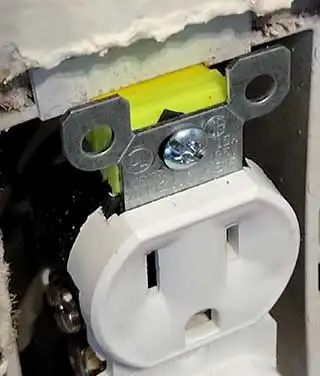
Normally, the wall supports an outlet device. Stackable plastic shims and Unishim fasteners use the outlet box to support a device. These work well when the outlet box is stable (not loose).
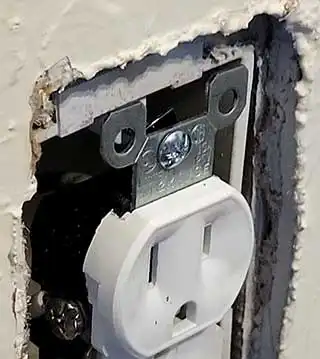
The RACO device leveling plate uses the wall to support a device. This works well when the outlet box is unstable (loose). Find Electrical Outlet Shims
Device tab not resting on wall
Device tabs properly resting on wall

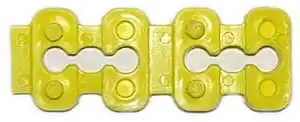
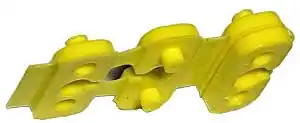
Stackable Plastic Shim Spacers
Plastic Shim Spacers
Stacked
Installing Plastic Shim Spacers
Always turn off power when working on an electrical device.
Electrical spacers are installed around the device mounting screws between the back of the tabs and the front of the electrical box. The device should be removed from the electrical box, but the wires do not need to be removed from the device.
When more than one spacer is needed these spacers can be folded and stacked together. To determine how many spacers are needed, measure the distance between the front of the electrical box and the front of the wall. Use this distance to see how many spacers are needed to bring the device forward to the proper distance.
After installing the spacer(s) screw the device back onto the electrical box, install the cover, and check the fit of the cover. Spacers then can be added or removed as needed. When finished, power to the device can be restored.
How to Repair Loose or Sunken Electrical Outlets Video
